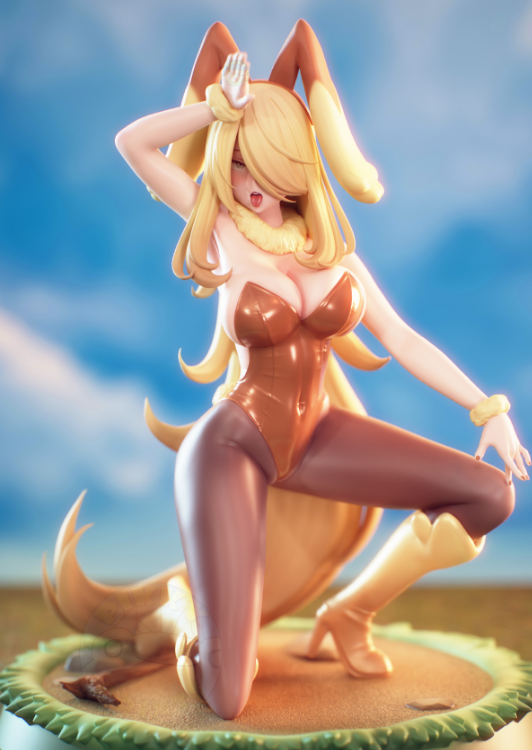
A little while back I bought a resin kit on eBay without doing much thinking. I have no experience working with resin and I was already busy with other projects but I clicked buy anyway. Looking at the render/post paint images of the kit it does look very nice but my experience with eBay resin has been very hit or miss.
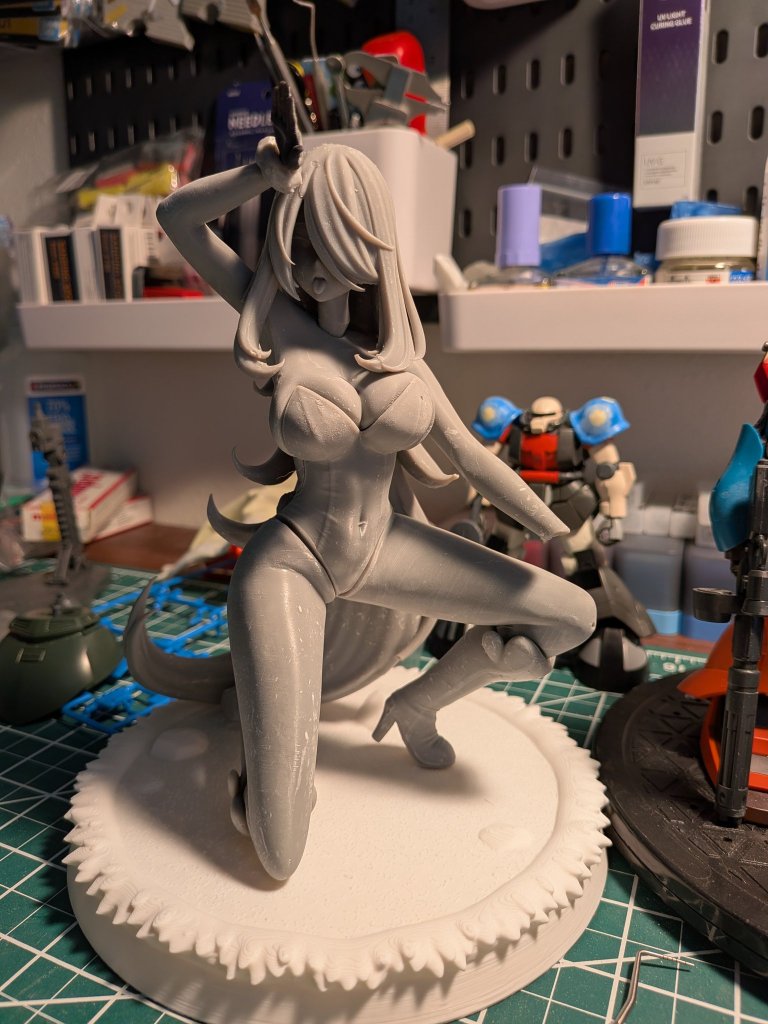
So obviously I have my work cut out for me. The print is pretty rough and there are a lot of gaps that need to be filled so I probably have a few months of sanding ahead of me. That base is also atrocious looking. Something seriously needs to be done about it. The print marks are extremely visible and I considered just throwing it away. After testing fitting the model I filled a lot of holes on it using tamiya grey putty which I usually hate using but it worked well here. Something I learned from this experience is that resin is pretty soft and can easily be sanded even with, say 400 grit sandpaper. Naturally I’m always wearing a respirator and wet sanding while working with anything resin. Once the holes were patched and sanded I let the kit sit for a few months because I got distracted but it was the best thing that could have happened for this project because that time led to a new creative direction that I’m much more excited about.
Obviously, I’m channeling horny energy into a project so that naturally corrupts the original vision which was to just copy the paint scheme shown above. But then I had the idea of making her a corrupted Team Galactic Cynthia which would put a spin on things and make the model truly my own, which is why stuff like this is worth doing in the first place. So I used Grok to generate a prototype image for me to base my work on
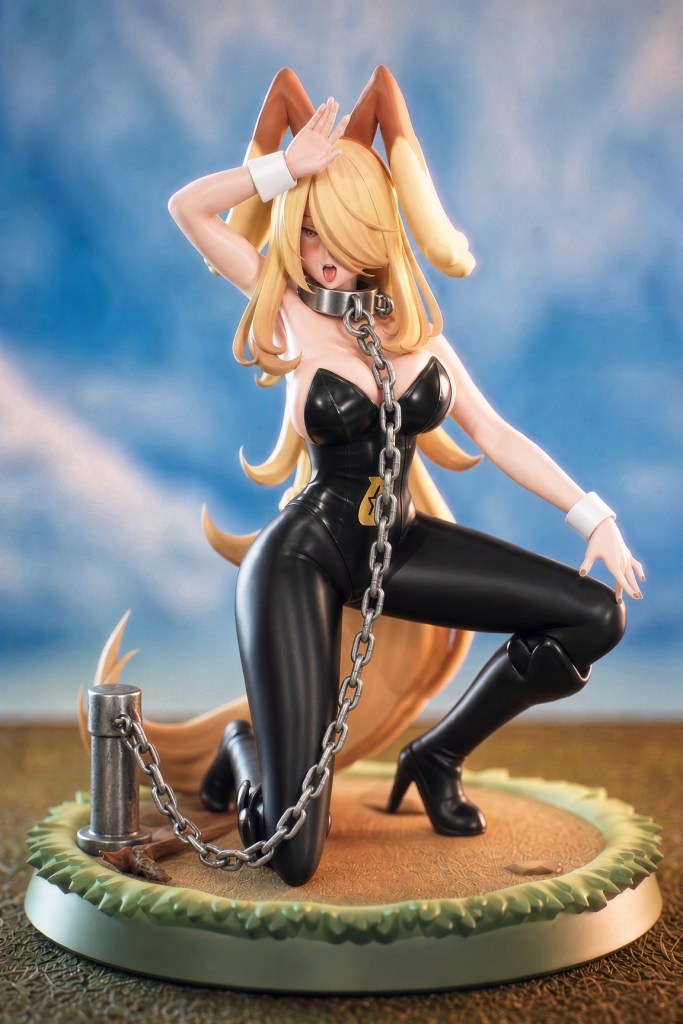
I’m a lot more motivated to work on this project now lmao.
This week I decided to pick this project back up because my current main project is being held up by the mail. I glued the legs on and added putty to fill the gaps before sanding. The model’s gone through a few rounds of sanding but there will likely be a few more. I also had a mindset shift with this project. As it’s my first resin kit I decided I would do whatever I wanted and learn from mistakes. Me starting this blog with this post kind of takes away from that though but whatever. While waiting for the putty to cure I took a look at the head, hair, and accessory pieces. They all needed some extra cleanup so I went ahead and did that until I was satisfied with how they looked. While test fitting the head I wondered how I would paint everything. Still don’t have an answer but I will be using Ray Studio paints and handpainting this. I stopped by Hobby Lobby and thankfully they had Mr Hobby Surfacer 1000 so I don’t have to use some weird brand I don’t trust.
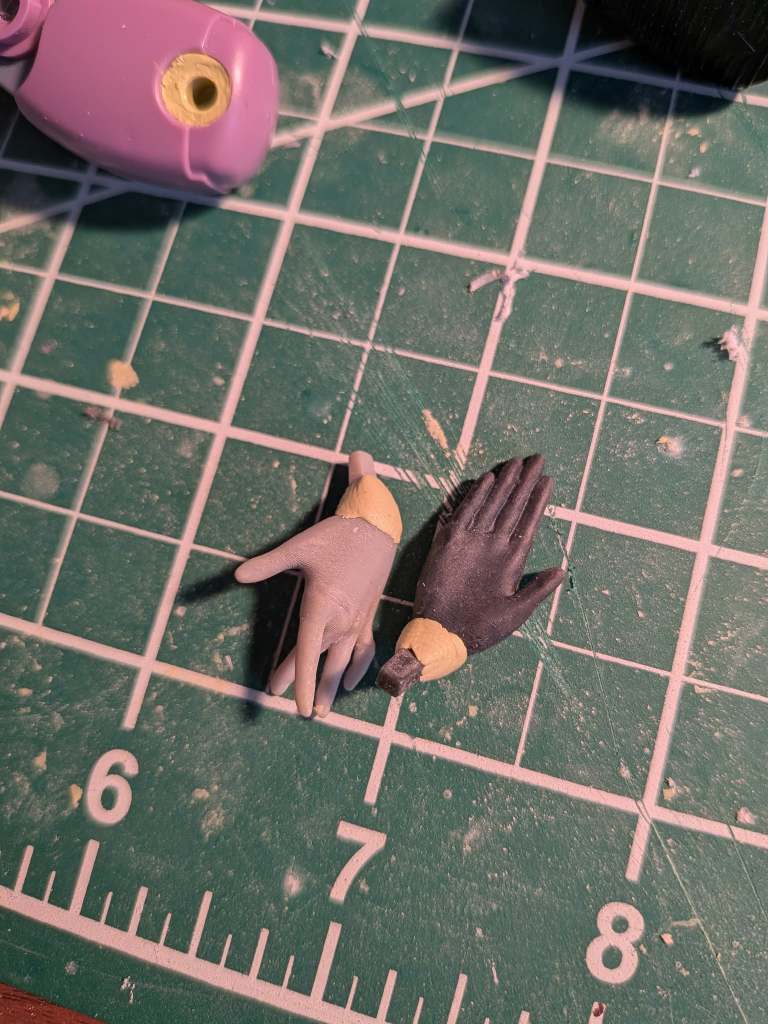
Because I’m going for a more traditional bunny girl look I need to make wrist tabs. Thankfully I had some styrene tubing that did the job well but the hands would need bulking up so that the space wasn’t just empty at certain angles so I added epoxy putty to the hands.
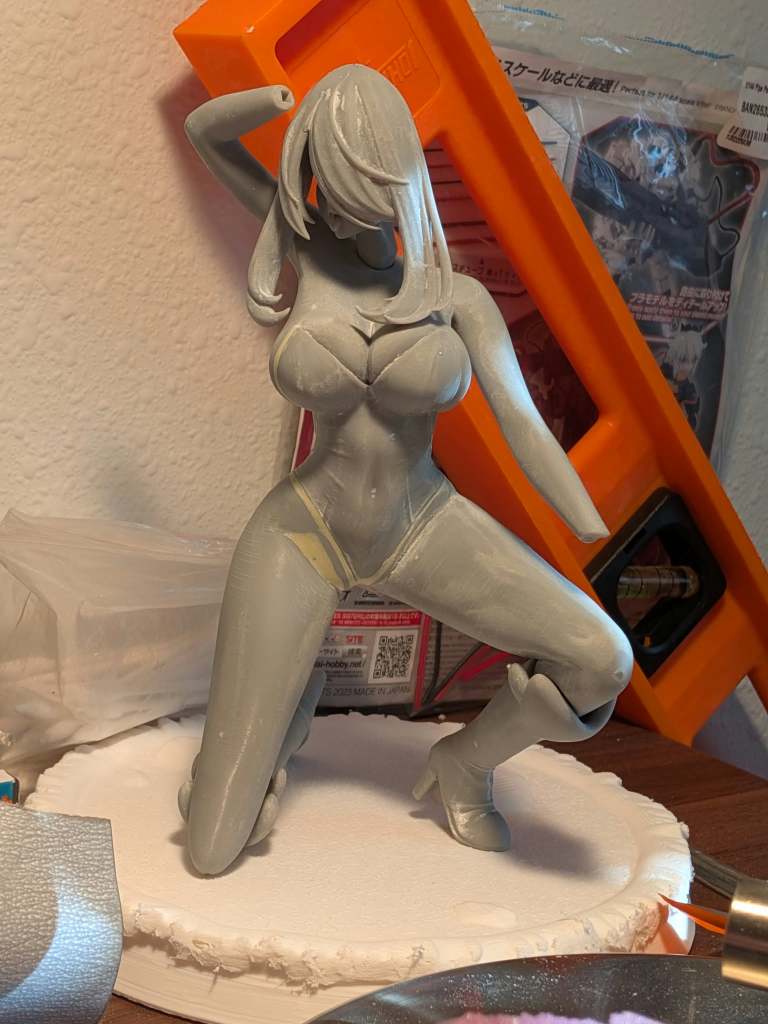
And that’s what the main body looks like right now. As you can see, the base was hacked at with a dremel. Will need a lot more work. I plan to post my next update here once the base is covered with putty and sanded down. I may also start priming this weekend but we’ll see. Still some open questions but I think the progress is good so far


Leave a Reply